I was wondering how to sew pointe shoes. This step-by-step guide covers everything from marking ribbon placement to securing the final stitches and adding essential elastics. Let’s get started!
Key Takeaways
- Gather essential materials and tools, including satin ribbons and elastic, to sew pointe shoes effectively.
- Properly mark, cut, and sew ribbons and elastic to ensure a secure and comfortable fit for optimal performance support.
- Avoid common mistakes, such as sewing through the binding, to maintain the functionality and integrity of the pointe shoes.
| Step | Instructions | Tips |
|---|---|---|
| 1. Gather Materials | Collect ribbons (22 inches each), 3/4-inch wide elastic, strong thread, a sturdy needle, scissors, and a lighter or matches. | Use dental floss for extra durability if preferred. |
| 2. Prepare the Ribbons | Cut ribbons into four equal lengths of 22 inches, then lightly singe the cut ends with a lighter to prevent fraying. | Be cautious when using the lighter to avoid over-burning. |
| 3. Mark Ribbon Placement | Fold the heel towards the toe to create a crease, marking the inside along this line as a guide for ribbon placement. | Ensures ribbons align with your natural arch for optimal support. |
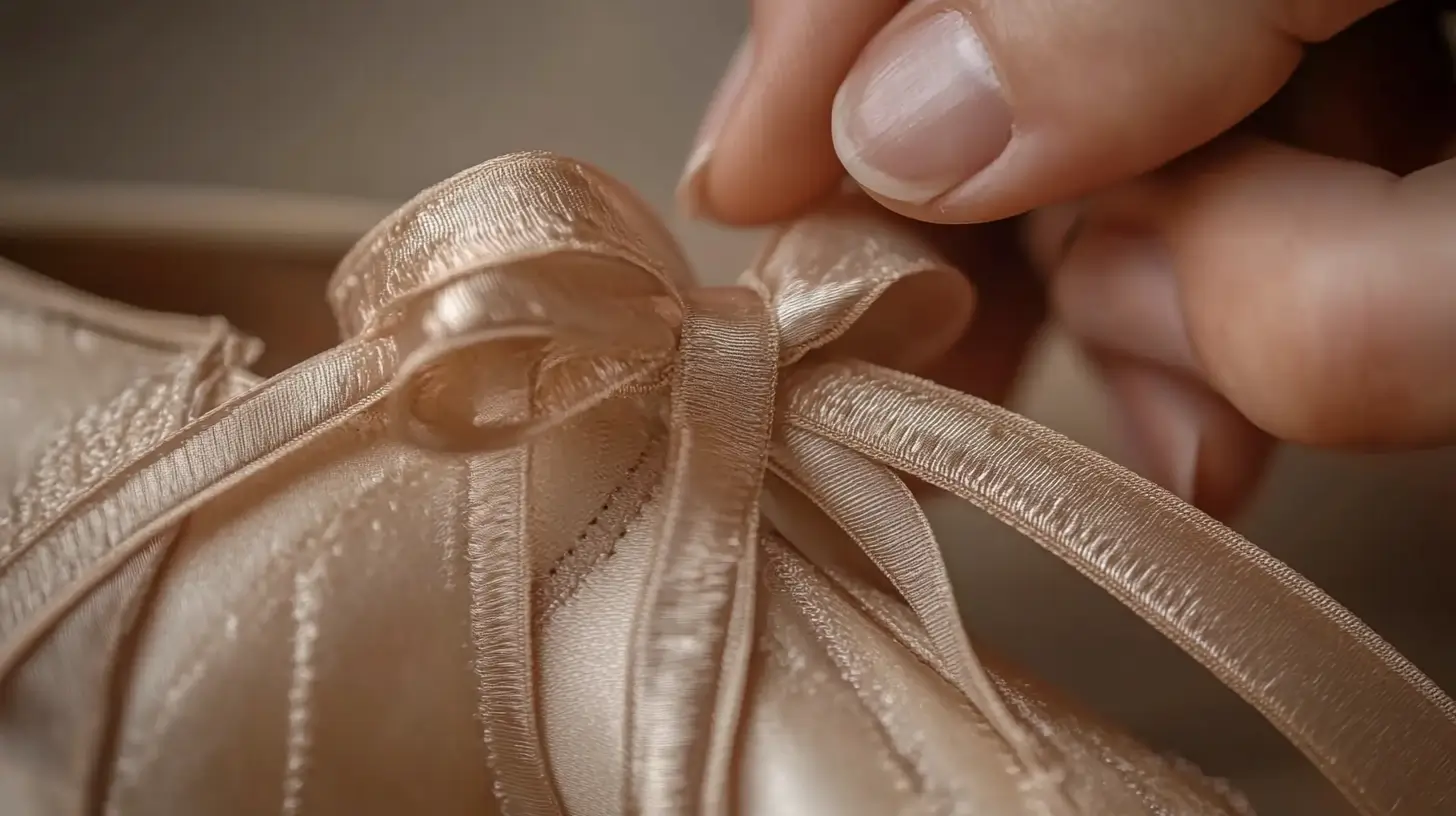
| 4. Pin and Sew Ribbons | Fold one end of each ribbon to create a clean edge, then pin and sew it to the marked area inside the shoe in a square or X pattern. | Only sew through the shoe’s lining to avoid visible stitches on the exterior. |
| 5. Attach Elastic | Cut two pieces of elastic, each 8 inches long. Position each end about 1/2 inch from the back seam, angled slightly outward, and sew securely. | Elastic provides added support; test elasticity before sewing to prevent discomfort. |
| 6. Final Fitting | Try on the shoes, tie ribbons, and adjust the fit for comfort and stability. Trim any excess length from ribbons and elastic, leaving enough for secure knots. | Seal the cut ends of ribbons to avoid fraying. |
| 7. Test and Adjust | After securing all parts, check for stability and comfort. Make any final adjustments to ensure the shoes feel secure during dancing. | Watch tutorials like those on the Suffolk Dance YouTube channel for a better visual guide. |
Understanding Pointe Shoes
Pointe shoes are a quintessential element of ballet, allowing dancers to perform on the tips of their toes and create a graceful, ethereal appearance. These specialized ballet shoes are meticulously designed to support the foot, providing a snug fit for precise and controlled movements. The structure of pointe shoes includes a stiff toe box, a shank for arch support, and a satin exterior that enhances their aesthetic appeal.
The toe box is reinforced to withstand the pressure of dancing en pointe, while the shank supports the arch, helping dancers maintain balance and stability. The snug fit of pointe shoes is crucial, as it ensures that the boots move seamlessly with the dancer’s feet, allowing for intricate and complex movements. Understanding the anatomy and purpose of pointe shoes is essential for dancers, as it helps them appreciate the importance of proper fitting and sewing techniques to enhance their performance and prevent injuries.
Materials and Tools Needed
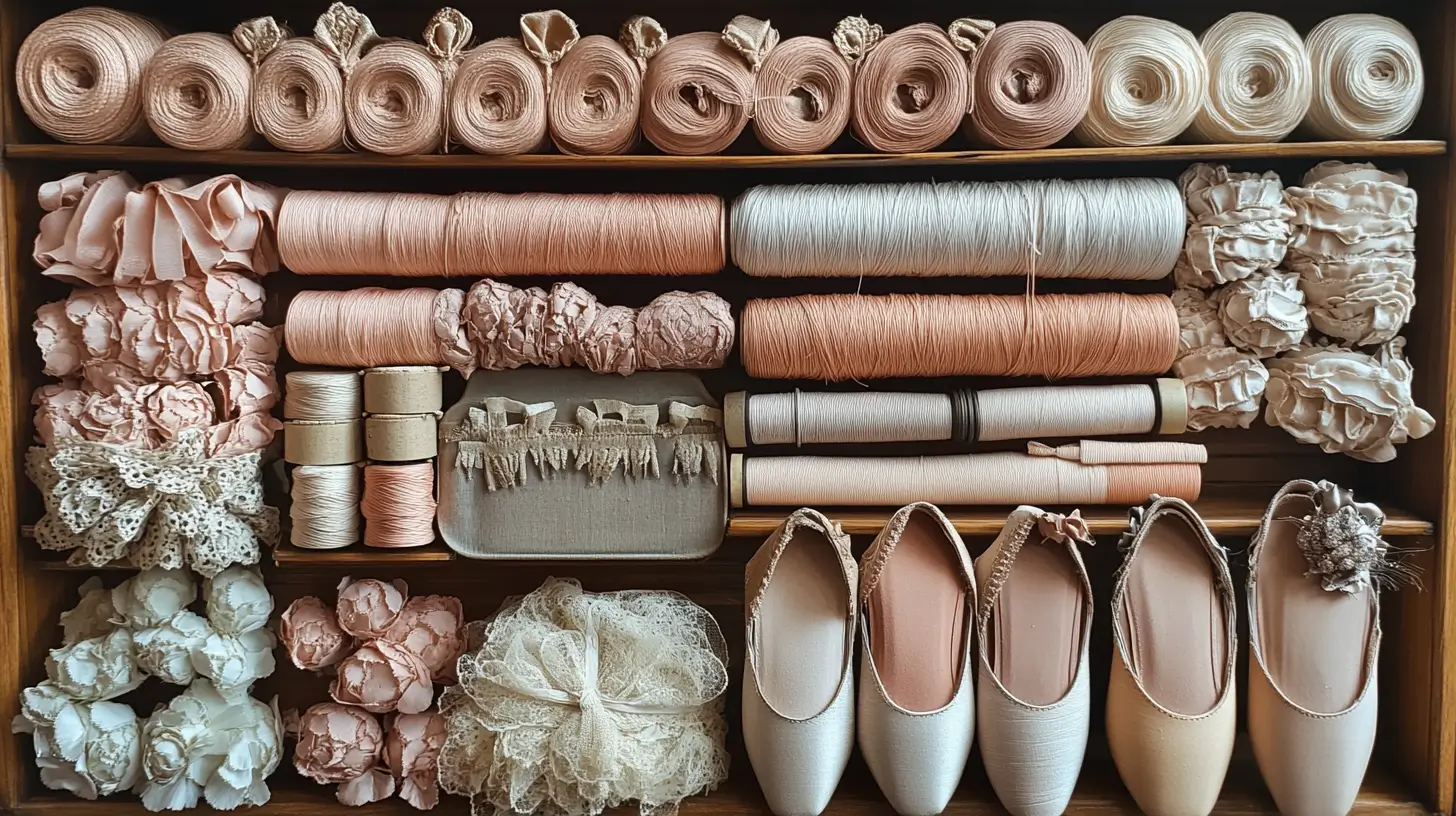
Before you start sewing, gather the necessary materials and tools, including pointe shoes, satin ribbons, elastic, scissors, strong thread, needles, a thimble, a pencil, a measuring tape, and dental floss. These items are necessary for sewing pointe shoes securely and properly.
Polyester satin is often used for pointe shoe ribbons, highlighting its importance in both the aesthetic and functional aspects of dance.
Clear nail polish or a lighter can seal the ends off and sew the ribbons to prevent fraying. Having all these tools ready will make the ribbon process smoother and more efficient.
Preparing Your Pointe Shoes
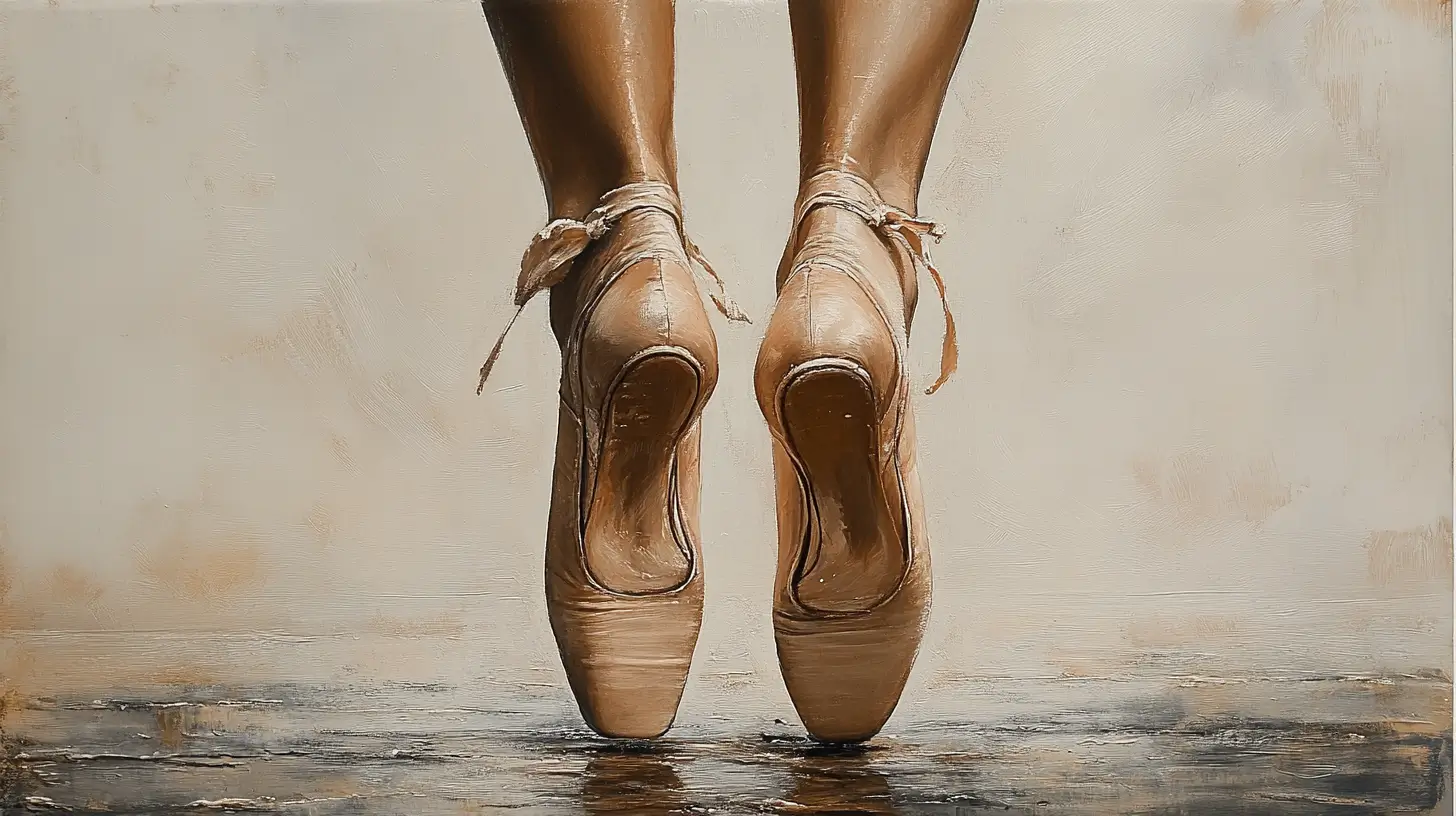
Try on your pointe shoes with your toe pads to identify where the shoes bend for proper ribbon placement. Mark these bending points with a pencil on the inside of the shoe’s back heel.
Position the elastic just above the heel seam for a secure and comfortable fit around the ankle.
Elastic enhances the fit of your pointe shoes and provides additional ankle support. Proper placement of ribbons and elastics ensures stability and comfort for a confident performance.
Marking Ribbon Placement
Selecting the right type of pointe shoe ribbons is crucial. Use 7/8-inch-wide satin ribbons for durability and aesthetic appeal. Measure the length of the ribbons and elastic needed with a measuring tape.
Position the ribbons at the marked points inside the shoe’s lining, overlapping the shoe by at least one inch for a secure hold. Mark these spots on the inner sole of the second shoe with a pencil for optimal placement of the ribbon pin.
Cutting Ribbons to Size
Cut a long piece of ribbon in half, then divide those halves into two, resulting in four equal pieces. This ensures uniform length for both shoes, maintaining balance and symmetry.
For each shoe, divide the ribbon into four equal lengths to create two ribbons for each side of the shoe’s back heel, ensuring consistent support on both the left and right shoes.
Sewing the Ribbons
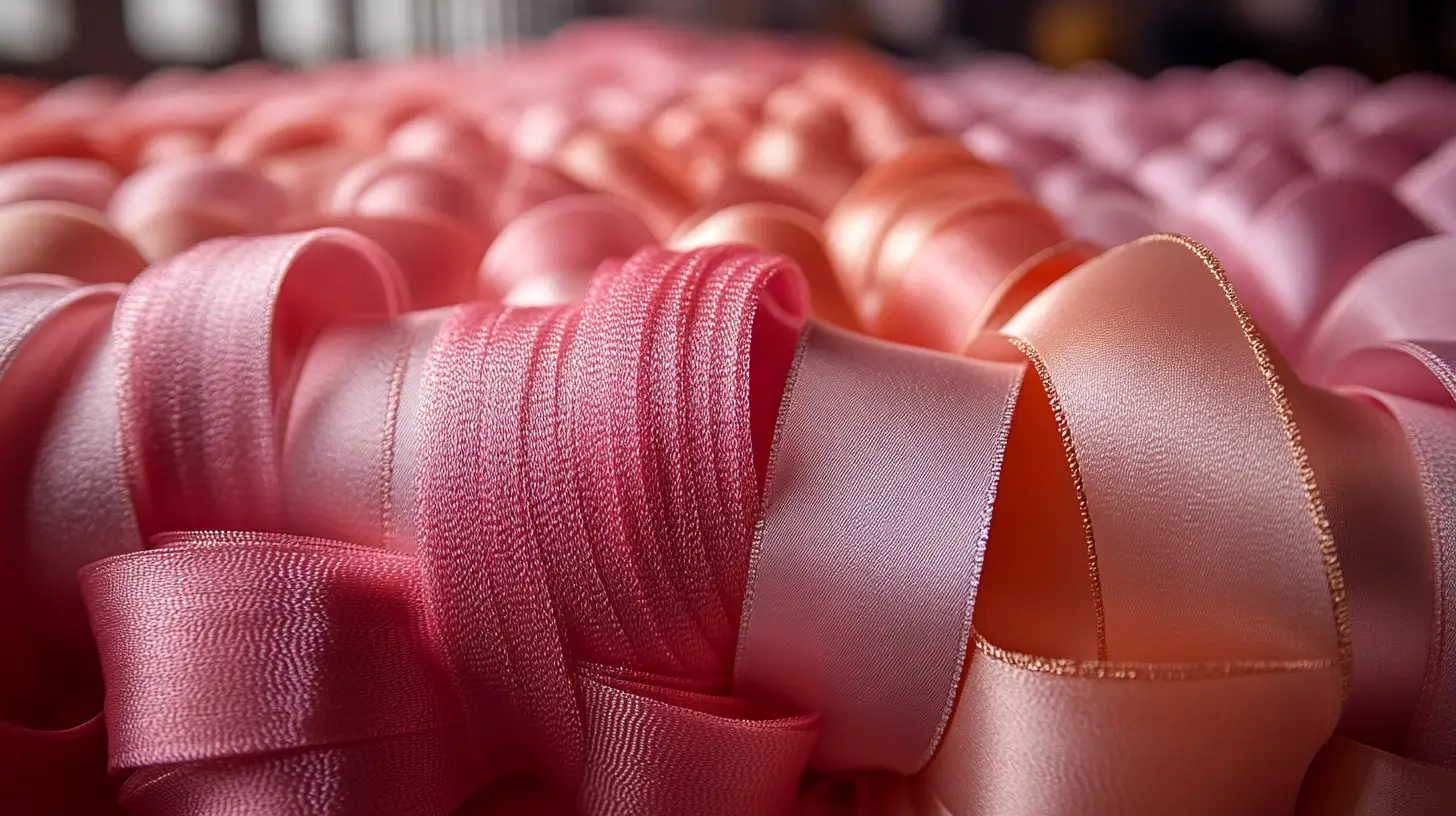
Sewing the ribbons requires meticulous attention to detail. Proper positioning and secure stitching ensure the ribbons stay in place during your performance, preventing discomfort or instability. While a sewing machine can be used, hand sewing is preferred for delicate components like ribbons and elastics to ensure proper placement and avoid pain.
The following sections cover how to position the ribbons accurately, sew through the lining without damaging the shoe, and secure the stitches inside the ribbon to prevent unraveling.
Positioning the Ribbons on the Inner Ankle
Mark the placement on the cotton lining where the heel folds for accurate positioning. Position the ribbons at an angle towards the front of the shoe for enhanced security. Mark these spots on the inside of the shoe and inner sole with a pencil for optimal ribbon placement.
Sewing the ribbons lower on the opposite side of the shoe can provide additional support. Proper positioning enhances their effectiveness in keeping the shoe securely on your foot during performance.
Sewing Through the Lining
A heavy-duty needle is necessary for sewing through the fabric of the pointe shoes. Mark the cotton lining with a pencil to indicate where the other end of the ribbon will be sewn, ensuring precision. Sew the ribbons into the lining to secure them effectively.
Avoid sewing through the drawstring binding to keep the drawstring adjustable and the binding intact. Be careful not to sew through the satin to avoid damage.
Securing the Stitches
Make small, even stitches for a secure attachment of ribbons in pointe shoes. When you’re finished sewing, tie the second ribbon with a needle in a double knot to ensure the stitches stay secure and don’t unravel.
Small stitches and secure knots keep your ribbons securely in place during dancing. This attention to detail ensures your ribbons provide the necessary support without coming loose.
Adding Elastic for Extra Support

Adding elastic to your pointe shoes provides additional ankle support, enhancing stability during performances. Try on the shoes with your toe pads and mark the bending points for a better fit. Ensure the elastics and ribbons are properly tightened without restricting movement.
The following sections will guide you through measuring and cutting the elastic to the correct size and pinning and sewing it onto the shoes for optimal support.
Measuring and Cutting the Elastic
Elastic, typically 1/2 or 3/4 inches wide, ensures a snug fit on the pointe shoes. Position the elastic about one centimeter away from the back seam of the shoe when attaching it.
Measure and cut the elastic to the same length as the right support for a good fit. Angle the elastic slightly away from the back seam for comfort and support.
Pinning and Sewing the Elastic
Stretch the elastic snugly around the inner ankle to determine the correct length. Pin the shorter end to the other side of the foot in the marked position after stretching it around the Achilles.
Sew the elastic securely to the back edge of the heel to prevent it from slipping during performance. This ensures the elastic holds the heel securely without excessive tension around the ankle.
Finishing Touches
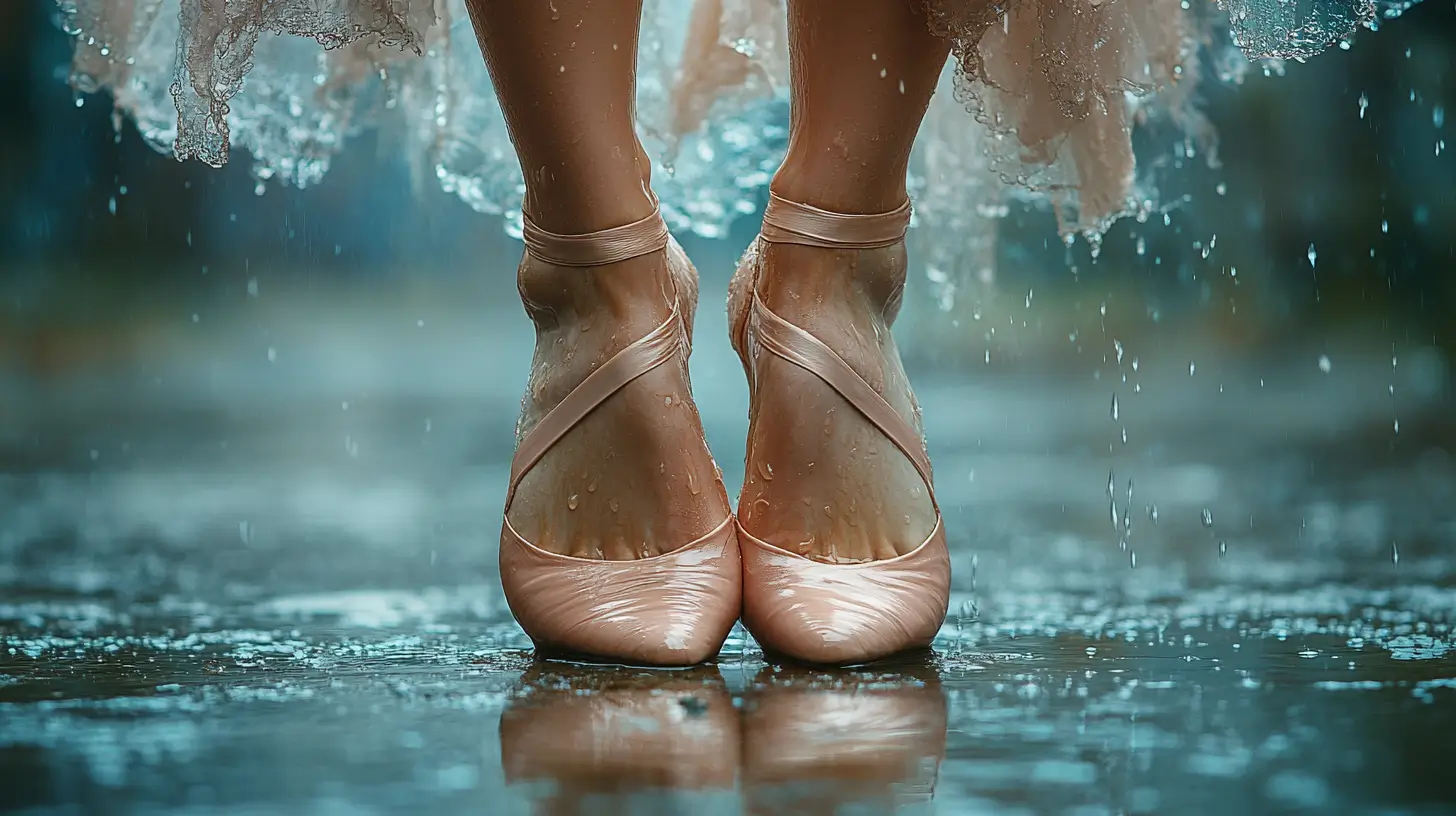
Finishing touches ensure all elements of your pointe shoes are securely fastened and aesthetically pleasing. Neglecting to test the fit after sewing can result in painful blisters or injuries.
This section covers trimming ribbon ends to prevent fraying and making final adjustments for the perfect fit.
Trimming Ribbon Ends
After sewing the ribbons, trim the ends to length while wearing the shoe to ensure a proper fit. Seal the ribbon edges with a lighter or fray check to prevent fraying and extend their life.
Apply clear nail polish or lightly singe the edges with a lighter to stop the ribbon ends from unraveling.
Final Adjustments
After sewing, check if the ribbons and elastics create a snug fit without discomfort. Make adjustments as needed. Trim ribbon lengths to about 1.5 to 2 inches after tying to avoid excessive slack.
Final adjustments guarantee a perfect fit. Testing the fit of pointe shoes after sewing ribbons and elastics ensures comfort and support, helping you avoid potential issues during your first pair’s performance.
Additional Tips for Sewing Pointe Shoes
Here are some additional tips to help you sew your pointe shoes more effectively. Using a thimble can help you push the needle through while sewing ribbons, providing a better grip and protecting your fingers from injury. This small tool, similar to a sewing pin, can significantly enhance your sewing experience.
Dancers often start with ballet flats before progressing to pointe shoes. Ballet flats are comfortable and suitable for initial practice, making them an essential part of a dancer’s journey.
Practical sewing techniques are key to achieving a professional look. Practice makes perfect, so seek guidance from more experienced dancers or instructors. Their insights can be invaluable in refining your technique.
Common Mistakes to Avoid
Inexperienced dancers often make mistakes when sewing their pointe shoes. Avoid sewing through the binding, as it can damage the shoe and affect its functionality. Always sew through the cotton lining of the pointe shoe, not the binding.
Inexperienced sewers often create messy stitches, which can compromise the fit and function of the shoe. Practice your sewing techniques and seek guidance if needed. Clean, even stitches are crucial for a secure and comfortable shoe fit.
Summary
Properly sewing your pointe shoes is an essential skill for every dancer. From gathering the necessary materials to making final adjustments, each step is crucial in ensuring your shoes provide the support and comfort needed for a flawless performance. Remember, attention to detail and patience are key.
By following this step-by-step guide, you can confidently sew your pointe shoes, which will enhance both your dance performance and the longevity of your shoes. Don’t be afraid to seek help and practice your techniques. Happy dancing!
Frequently Asked Questions
What type of ribbons should I use for my pointe shoes?
For your pointe shoes, it’s best to use satin ribbons that are approximately 7/8 inches wide due to their durability and aesthetic appeal. This choice will enhance both the functionality and appearance of your shoes.
How do I prevent the ribbon ends from fraying?
Seal the edges with a lighter or apply clear nail polish to prevent ribbon ends from fraying. This will effectively extend the life of your ribbons.
Why is it important to avoid sewing through the binding?
It’s crucial to avoid sewing through the binding to prevent damage to the shoe and maintain its functionality; instead, always sew through the cotton lining.
How can I ensure the ribbons are securely attached?
Make small, even stitches on the first ribbon and tie the finish with a double knot to securely attach the ribbons. This will prevent them from unraveling.
What should I do if my shoes feel uncomfortable after I’ve worn them?
If your shoes feel uncomfortable after sewing, ensure the ribbons and elastics provide a snug yet comfortable fit. Make any necessary adjustments and trim excess lengths. This will help achieve a better fit and improve comfort.

