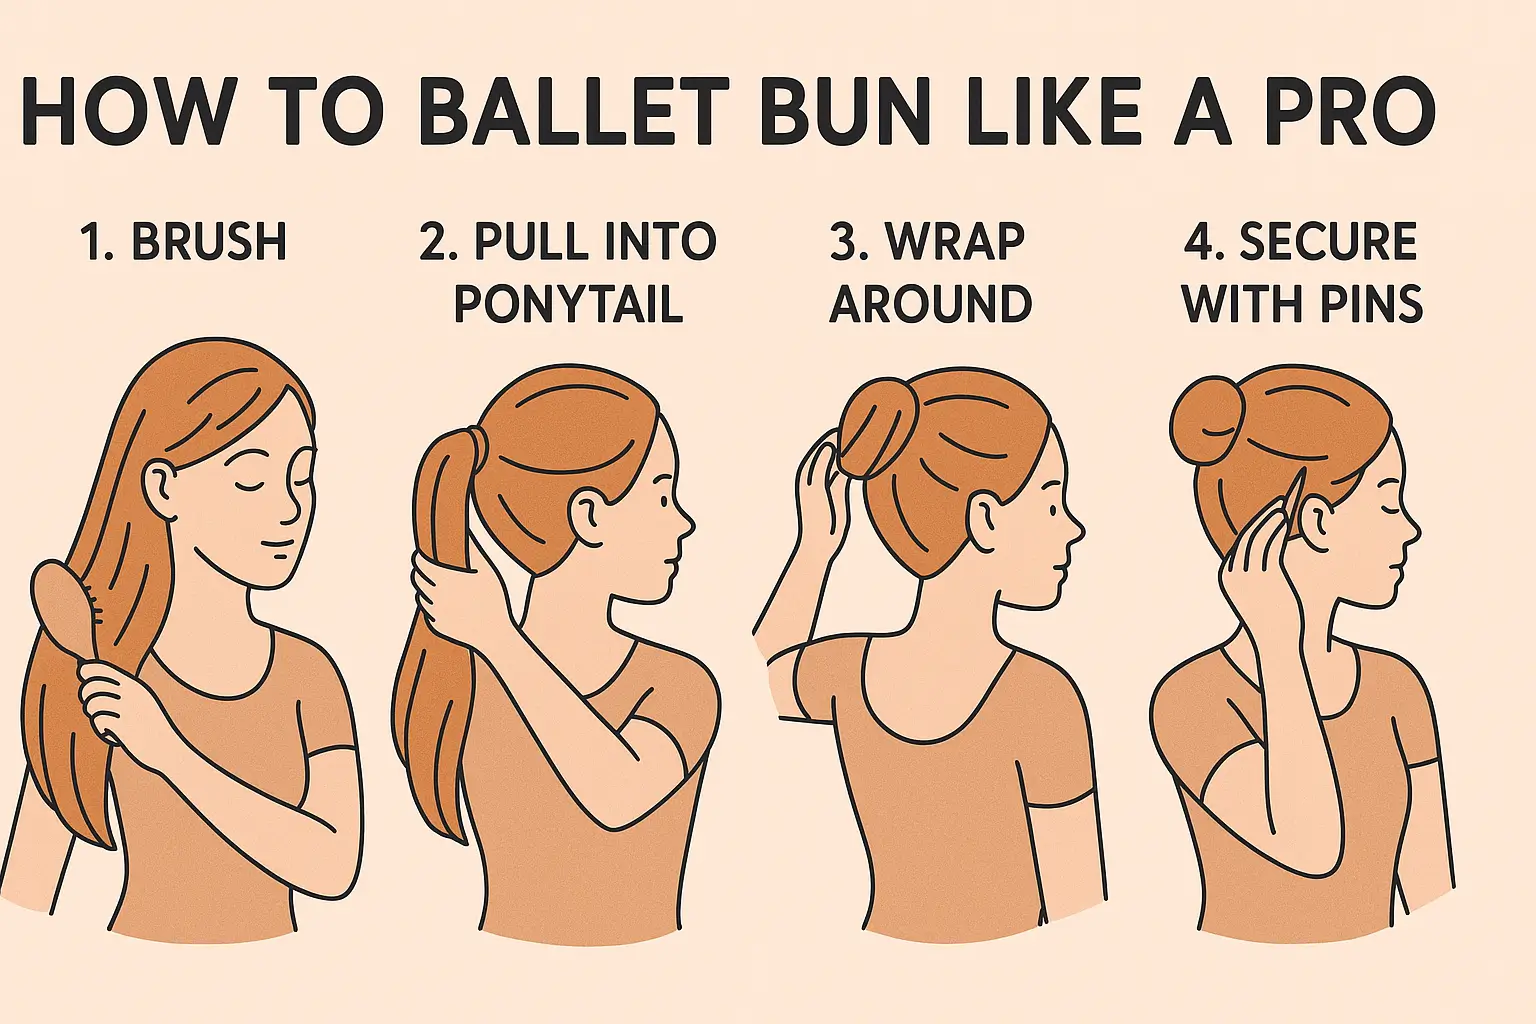
Want to perfect the ballet bun? This article will teach you how to ballet bun effortlessly, providing a clear, step-by-step method for a professional look.
Graceful Insights
- Start with clean, detangled hair and create a tight ponytail using gel or water to manage flyaways.
- Wrap the ponytail tightly into a bun, and secure it with bobby pins and hairspray for extra hold.
- Use hair nets to keep stray strands in check for a polished finish, and consider adding accessories for personalization.
Art de Podcast
| Step | Description | Tips |
|---|---|---|
| 1. Gather Supplies | Collect a hairbrush, elastic, hairpins (preferably Bunhead’s Hairpins), hairnet, hairspray, and gel. | Using strong, sturdy hairpins ensures the bun stays secure. |
| 2. Brush and Apply Gel | Brush hair until smooth and tangle-free. Apply gel to the top and sides to manage flyaways. | Avoid over-brushing to prevent static, which can make styling difficult. |
| 3. Form a Ponytail | Decide on the bun’s height: high for performances or low for rehearsals. Gather hair into a ponytail at the chosen height and secure it with a hair elastic. | Positioning the ponytail at the crown can create an elegant look. |
| 4. Twist the Hair | Twist the ponytail into a tight rope. | For thick hair, consider dividing it into two sections before twisting. |
| 5. Wrap into a Bun | Coil the twisted hair around the base of the ponytail to form a bun. | Place a finger in the center while wrapping to achieve a neat finish. |
| 6. Secure with Hairpins | As you wrap, insert hairpins at the bun’s top, bottom, left, and right, then add pins between these points to ensure stability. | Use the pinning technique: Push the pin through the bun, grab some hair, turn it back on itself, and push under the bun. |
| 7. Apply Hairnet | Place a hairnet over the bun to keep stray hairs in place, then secure it with additional pins. | Hairnets provide a clean, professional finish. |
| 8. Tame Flyaways | Use hairpins or slides to secure any remaining loose hairs, especially at the nape of the neck. | A mini French twist can help manage nape hairs. |
| 9. Final Touches | Spray the entire head with hairspray to set the style. Check for any loose sections and add pins as needed. | Ensure the bun feels secure by gently shaking your head; add pins if necessary. |
Additional Tips:
- Avoid Hair Doughnuts: Traditional ballet buns are flatter and wider; doughnuts can create a bulkier shape that may not be suitable.
- Practice Makes Perfect: Familiarize yourself with the technique before important events to ensure a smooth process.
- Communicate Comfort: If someone else is styling your hair, let them know if any pins cause discomfort.
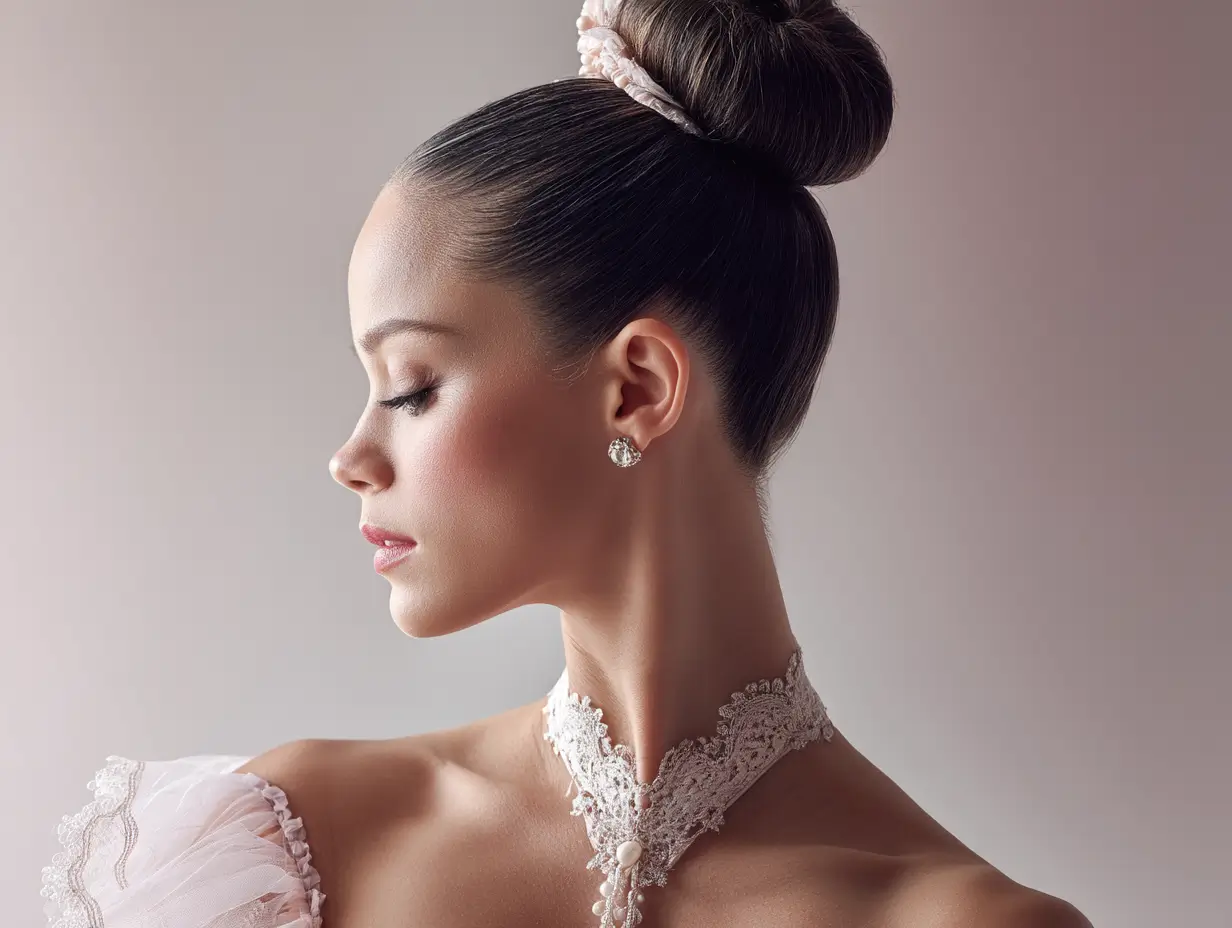
Preparing Your Hair for a Ballet Bun
A successful ballet bun begins with proper hair preparation. Clean, dry, and hair free of tangles and knots is the key to a sleek and polished look.
Here’s how to get your hair ready: brush and detangle it, create the perfect ponytail, and use a bit of gel or a little water to manage flyaways.
Brush and Detangle
Before forming your ballet bun, ensure your hair is smooth and hair-free. Brushing and detangling create the foundation for a neat bun. Use a hairbrush or comb to remove any knots and make your hair as straight as possible. This step is particularly vital for those with long hair, as tangles can make it challenging to achieve a sleek look.
Tools like a spray bottle filled with water or a texturizing spray can help manage your hair while brushing. Texturizing spray adds grip, making styling easier.
Remember, the smoother your hair, the easier it will be to form a tight ponytail and, ultimately, a secure ponytail ballet bun.
Creating the Perfect Ponytail
Creating a solid base with a perfect ponytail is crucial. Position it just below the crown of your head for a balanced and elegant look. Using a bristle or smoothing brush can help gather your hair into a ponytail while minimizing bumps. To achieve a polished finish, apply a small amount of hair gel to tame any flyaways before securing the ponytail with a hair tie.
A tight ponytail is crucial for a durable ballet bun. A loosely tied ponytail can cause the bun to fall apart during practice or performances. Use multiple ponytail holders to keep your hair in place and prevent strands from escaping.
Using a Little Gel or Water
Apply a small amount of hair gel or water to manage flyaways and tidy your hair. Gel helps control thicker hair types and secures loose strands during styling.
A spray bottle of water can also smooth out your hair before twisting it into a bun. This step only takes a few minutes but significantly enhances the sleek, professional look.
Creating the Bun Foundation
Establishing a Stable Base
To create a stable base for your ballet bun, brush your hair to remove any tangles or knots. Use a wide-toothed comb or a detangling brush to gently work out any snags, especially if you have thick or curly hair. This will help prevent hair breakage or tangles that can ruin your bun.
Next, gather and pull all your hair together and secure it with a hair tie. Ensure the hair tie is not too tight, which can cause hair loss or discomfort. You want the hair tie to be snug but not constricting. A well-secured ponytail is the foundation of a durable ballet bun, ensuring that all the hair is gathered neatly and ready for the next steps.
Choosing the Right Elastic
Choosing the right elastic for your ballet bun is crucial. You want an elastic sturdy enough to hold all your hair in place but not so tight that it causes hair loss or discomfort. Look for an elastic specifically designed for ballet buns or hair ties. These elastics are usually made of a thicker material that can withstand the weight of your hair.
When choosing an elastic, consider the thickness and length of your hair. If you have fine hair, you may opt for a thinner elastic that won’t put too much pressure on your hair. If you have thick hair, you may opt for a thicker elastic to hold all your hair in place. The right elastic will ensure your ponytail is secure, providing a solid base for your ballet bun.
Forming the Ballet Bun
With your hair prepped and ponytail secured, it’s time to form the ballet bun. Wrap the ponytail around the base and secure it with pins and hair nets to keep it in place during ballet classes or performances.
Twisting the Ponytail
Gather all your hair into a ponytail and twist it tightly to create a stable foundation for your bun. Some dancers prefer splitting their hair into two parts before turning, especially if they have long or thick hair. Twisting your hair into a rope-like structure before wrapping it around the base can help create a more secure and compact bun.
Pull the hair tightly as you twist to prevent loose ends from escaping. This technique keeps your ballet bun neat and durable, even during rigorous dance routines. Remember, the tighter the twist and pull of the air is, the more secure your bun will be.
Wrapping and Securing the Bun
Once your ponytail is twisted, wrap it around the base, following the same direction to maintain the bun’s structure and compactness. Secure the wrapped hair tightly against the base with bobby pins. Inserting the pins at an angle offers a better hold.
For thick hair, divide it into two sections while creating the bun to ensure all hair is neatly secured. Place bobby pins at key points around the bun, similar to the hours on a clock, for effective security. U-shaped pins instead of regular bobby pins can also provide better hold for your ballet bun.
Adding Extra Hold
Apply a light mist of hairspray to keep your ballet bun in place. This tames flyaways and provides additional hold for a polished look. Use hair nets to hold the bun in place for extra security and prevent loose strands from escaping during practice or performances.
Hair nets are especially useful for managing thick hair as they nontain all tair strands. neatly
Securing the Bun with a Hair Net
Securing your ballet bun with a hair net is a must to keep it neat and professional. Hair nets are especially useful for managing thick hair as they neatly contain all the hair strands and prevent loose ends from escaping during practice or performances.
Choose a hair net that matches your hair color for a seamless look. Once your bun is formed and secured with bobby pins, gently stretch the hair net over tit ensuring it covers everything to match your hair Tuck any excess netting under the bun and secure it with additional bobby pins if necessary. This extra layer of security will keep your bun intact, even during the most rigorous dance routines.
Using a hair net keeps your bun in place and adds extra polish to your overall appearance. It ensures that all the hair is neatly contained, giving you a sleek and professional look throughout your performance.
Finishing Touches for a Neat Look
Finishing touches are essential to achieve a polished and professional appearance. Using hair nets, strong hairspray, and regular maintenance can help keep your ballet bun looking smooth and tidy throughout the day.
Let’s practice the final steps to ensure your ballet bun is as neat as possible.
Tucking in Loose Strands
Stray hairs are bound to appear, no matter how carefully you form your bun. Tuck away any loose strands using hairpins for a seamless finish. Continue securing any loose strands to ensure a polished appearance. Hairspray tames loose strands and enhances the overall neatness and longevity of the bun.
Secure all hair and tuck in stray hairs to maintain a clean and professional appearance. U-shaped pins and a flat bobby pin can effectively secure loose hairs around the bun, ensuring a sleek look.
Using Hair Nets and Clips
Hair nets maintain a tidy appearance by keeping all hair secure and free from stray strands. U-shaped pins are recommended for securing hair pins in the bun, as they hold it better than regular bobby pins. A hair net helps contain stray ends when managing thick hair in a bun.
More pins and a hair net can improve stability for a loose ballet bun. Adding hair clips can further the bun and longer neck, ensuring it stays in place throughout your performance.
Final Spritz
A light application of hairspray provides additional hold and shine, keeping the ballet bun polished throughout the day. Use additional hairpins or a second hair net, and apply hairspray for extra hold.
This final spritz can make a significant difference in maintaining the overall sleekness of your ballet bun.
Troubleshooting Common Issues
Even the best-prepared ballet bun can encounter issues like hair loosening during practice or performance.
Addressing these problems with practical solutions ensures your secure bun remains stylish and your ballet bun stays intact.
Fixing a Loose Bun
If your ballet bun becomes loose, continuously twisting hair tightly while wrapping prevents loose ends from escaping. Add more bobby pins and adjust the positioning of the bun to keep it secure.
A strong elastic band and multiple hairpins ensure all strands are in place.
Handling Fine Hair
Fine hair can be challenging to style without extra support. Texturizing spray adds grip to fine hair, making it easier to hold a ballet bun in place. Use a texturizing spray and more pins for fine hair to prevent strands from slipping out.
Combining texturizing spray with ample pins keeps a ballet bun secure and stylish throughout practice. Spritzing hair with water or light-hold hairspray before styling helps maintain a sleek appearance.
Dealing with Thick Hair
Thick hair requires special attention to ensure the bun remains secure. Extra bobby pins help keep the volume of dense hair in place. Hair nets can encase the head and entire bun and provide additional security, especially for thicker hair.
A final spritz of hairspray provides hold and combats potential frizz, keeping thick hair neatly secured. Common issues like the bun loosening or taking on a bulky appearance can arise with thicker hair, which may require adjustments throughout the performance.
Additional Styling Tips
Experimenting with different bun positions can enhance the overall look for various occasions. Adjust the bun position based on the event to make a significant difference in your dance appearance and style.
Explore additional styling tips to take your ballet bun to the next level.
Low Bun Variation
A low bun creates an elongated neck appearance, ideal for formal wear and performances. This elegant style is particularly flattering for dancers with shorter hair, offering center or side part options.
Creating a low bun involves the same techniques as redo for a regular ballet bun but is positioned lower on the neck’s nape.
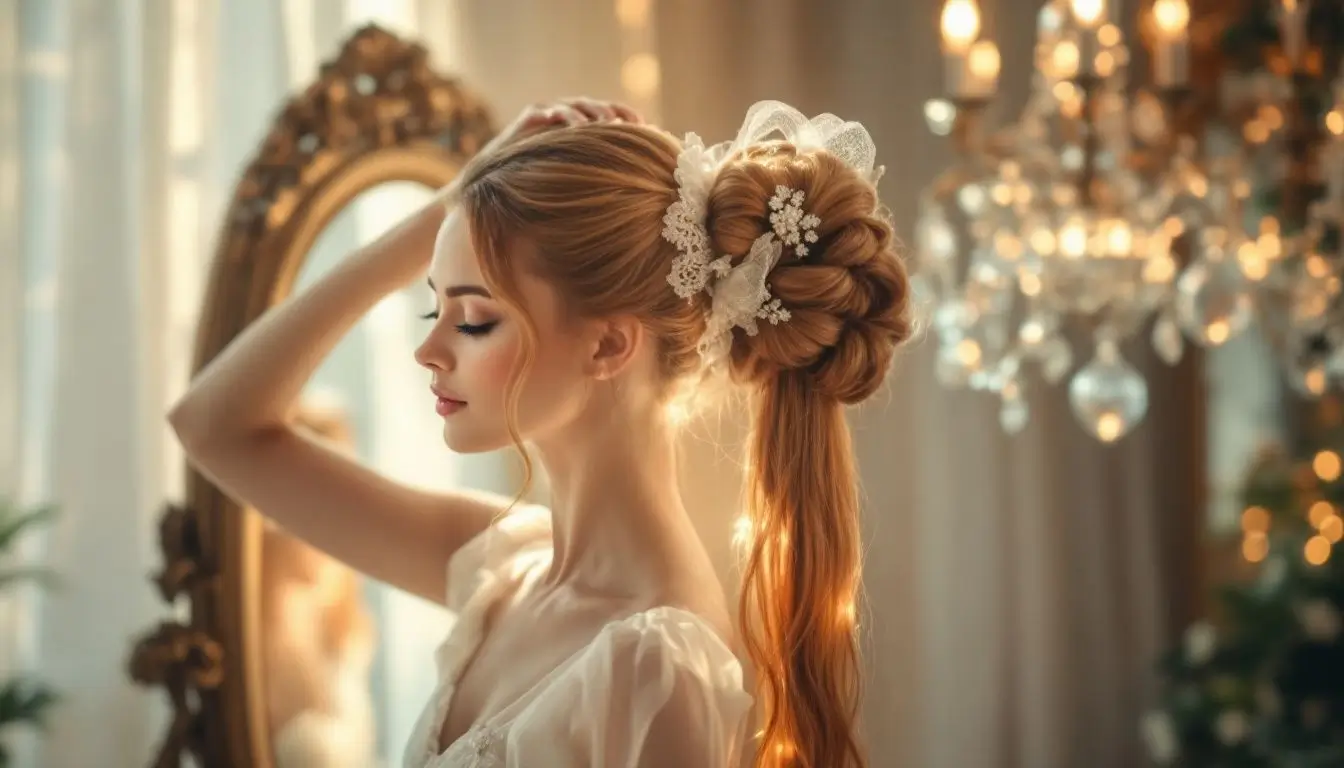
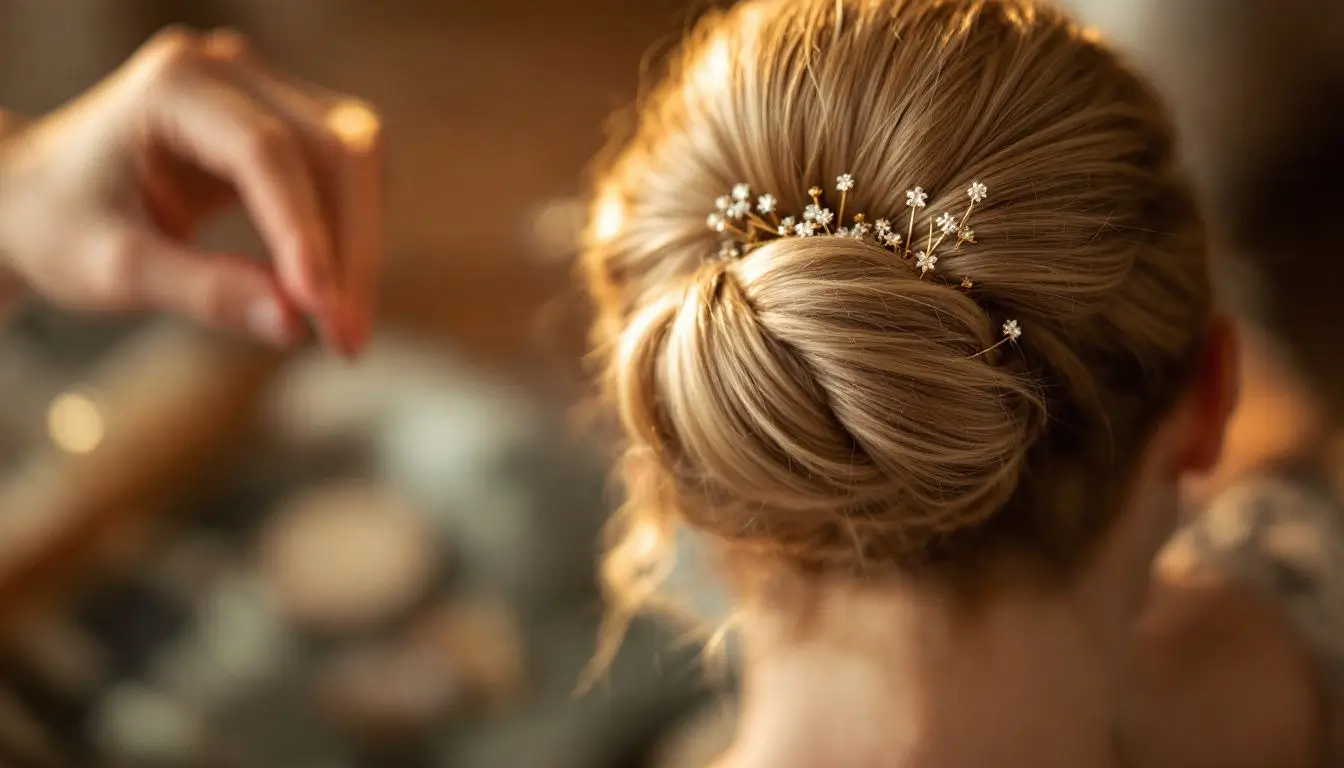
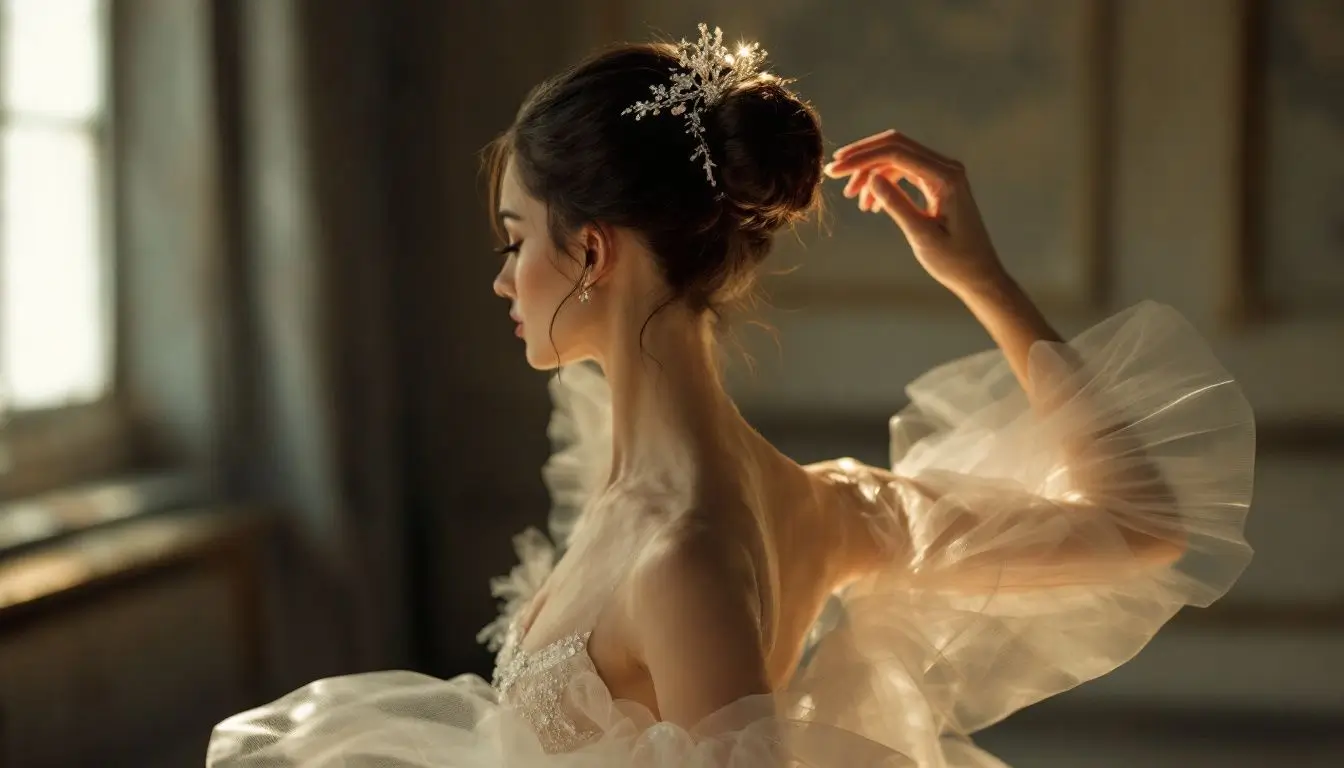
Adding Accessories
Incorporating decorative elements like hairpins, clips, or ribbons can personalize your ballet bun. Items like sparkly bobby pins, ribbons, or flowers add a personalized touch that matches the dancer’s outfit.
Choose understated designs to maintain a serious look while enhancing your overall dance appearance.
Maintaining Silky Smooth Hair
Silky smooth hair is essential for a sleek ballet bun. Regular use of conditioners keeps hair soft and healthy for styling. Texturizing spray before styling helps maintain the hair’s smoothness and makes it easier to style into buns.
Teasing the hair and using hairspray enhances volume and hold for fine hair. Spritzing hair with water or light-hold hairspray before styling helps maintain a sleek appearance.
These tips ensure your hair is always in top condition for creating a beautiful ballet bun.

Resume
Creating the perfect ballet bun may seem daunting initially, but anyone can achieve a professional and polished look with the right preparation, techniques, and tools. Each step plays a crucial role in the final result, from ensuring your hair is clean and tangle-free to mastering the art of twisting and securing your bun. Remember to use hair nets and hairspray for extra hold and to check for loose strands regularly to maintain a neat appearance.
As you practice and refine your technique, you’ll find that creating a durable ballet bun becomes second nature. Experiment with different styles and accessories to personalize your look, and don’t forget the importance of maintaining healthy, silky smooth hair. With these tips and tricks, you’re well on your way to ballet bun perfection. Keep practicing, and soon you can ballet bun like a pro!
Frequently Asked Questions
How can I keep my ballet bun from falling apart during practice?
To keep more hair in your ballet bun secure during practice, start with a tight ponytail, use plenty of bobby pins, and finish with a light mist of hairspray and a hair net for extra hold. This will keep everything in place so you can focus on your performance!
What can I do if my hair is too fine to hold a bun?
If your hair is too fine to hold a bun, use a texturizing spray for added grip and secure it with extra pins to keep everything in place. This little trick can make a big difference!
How do I manage thick hair when creating a ballet bun?
To manage thick hair for a ballet bun, try dividing your hair into sections and using extra bobby pins for stability. A hair net can also keep everything secure and tidy.
Can I add accessories to my ballet bun without making it look too flashy?
Absolutely! Opt for subtle decorative pins, clips, or ribbons to elevate your ballet bun without going overboard.
How can I ensure my ballet bun stays neat throughout the day?
To keep your ballet bun neat all day, regularly check for loose strands and secure them with hairpins, plus a final touch of hairspray. Using a hair net can also help keep everything in place!